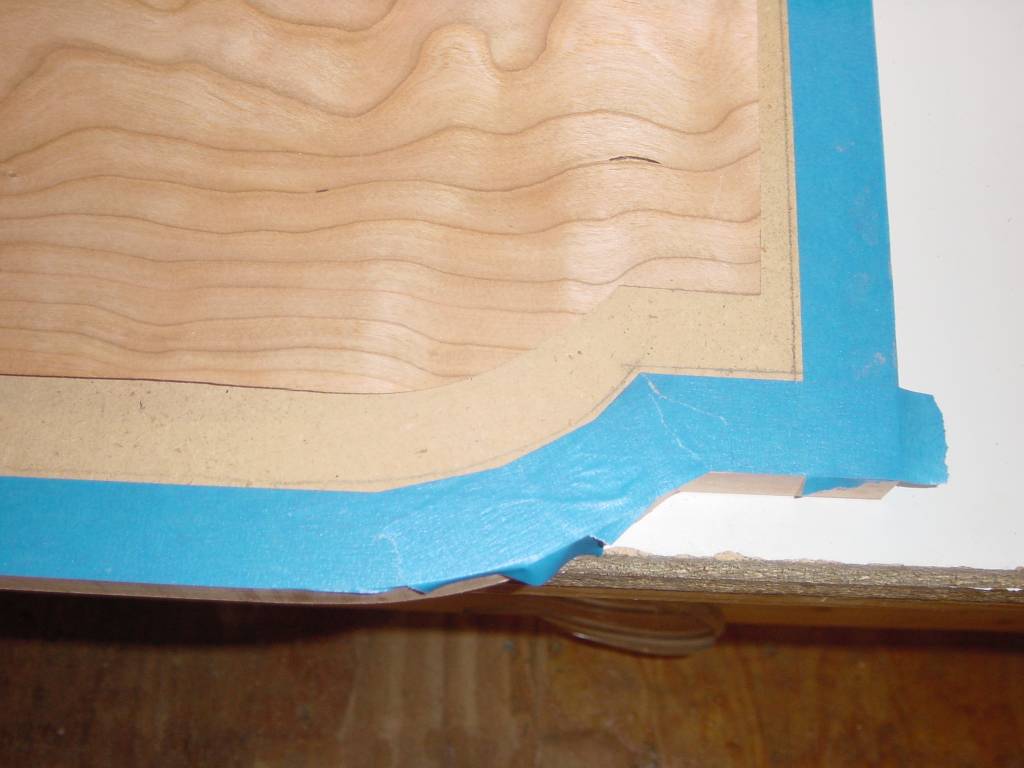
Veneer ready to glue
The veneer field is glued on to the top first. The masking tape keeps the glue off of the MDF substrate where the cross banding will be.
Note the pencil line just inside of the tape. This is the pencil line shows where the field veneer edge will be after trimming back with the router.
In this photo the glue veneer is not glued on and is shown in relation to the top and edge of the area to be glued
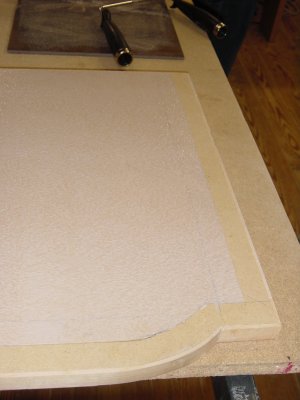
Top ready for veneer
The glue has been rolled on and the masking tape has been removed.
Note the MDF substrate and 1/8" thick solid wood edge banding.
At this point the clock is ticking. We have 3-5 minutes to get the veneer placed, the platten on top (1/4" hardboard) and then into the vaqcuum press. We did 4 tops per pressing. Once in the vacuum press bag, the vaccum was applied for 1 hour.
Click photo to enlarge
Bill Hull demonstrating how to trim the veneer edges
The field veneer has been glued on. The veneer was trimmed back with the router. The router bit was set to trim off the thickness of the veneer (tested on scraps).
The edge jig is a shop built unit of Bill's design.
With the router trimming, the veneer edge is clean and sharp. Clean up trimming with a chisel is needed only for the inside corners.
The white tape is the veneer tape used to hold the 2 sheets of veneer together. This tape will be dampened and scraped off later. Veneer tape is a a very thin gummed tape that generally does not leave marks in the veneer when removed. A thick tape such as masking tape will leave dents form the clamping pressure and bve so tightly bonded after clamping that wood splinters / chips would be pulled off.

Close up of the router jig
This router jig can vbe used either with the wooden fence or with the ball bearings agains the edge of the top. The bearings are used with curved surfaces, such as round tops.

Base glued up
Here the base is glued up. The groove in the leg and along the bottom of the front rail will receive the decorative banding.
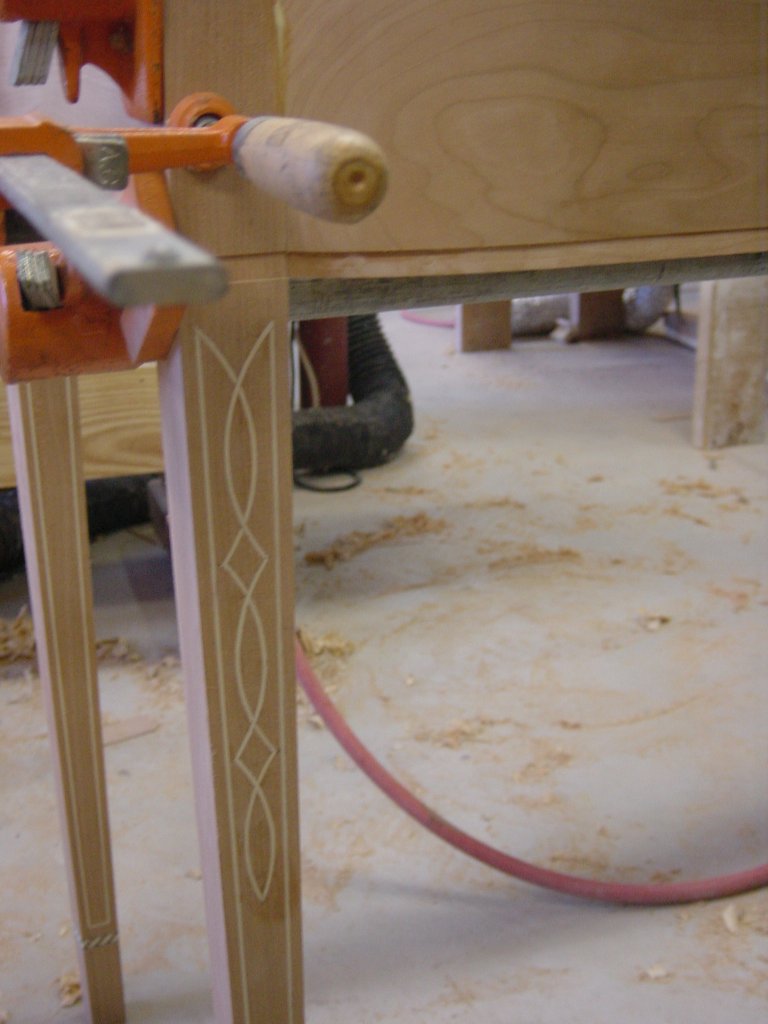
Base clamped up
The base is complete except for the base banding. The diagonal clamp was required to pull it square.
